Log in so Nx Cloud knows you're a member of the workspace and gives you the access set for logged-in members. CI runs use CI access tokens instead.
Log in
Section titled “Log in”- Run
npx nx loginfrom your workspace. It shows a code and opens Nx Cloud in your browser. - On the Nx Cloud CLI login page, check that the code matches the one in your terminal and select Approve.
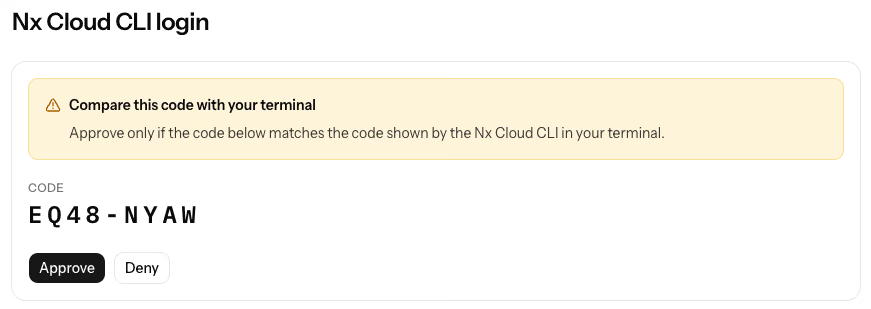
If no browser opens, open the URL the terminal printed.
Check your login
Section titled “Check your login”npx nx login --statusThe command shows the account you're logged in as.
CLI sessions
Section titled “CLI sessions”In Nx Cloud, open Personal settings from the account menu and select Access tokens. The CLI sessions card lists each login.
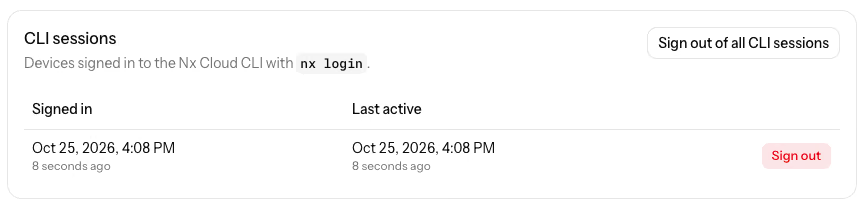
Sign out ends one session, and Sign out of all CLI sessions ends every one. A device you sign out needs nx login again.
Log out
Section titled “Log out”npx nx logoutWith logins for several Nx Cloud instances, see nx-cloud logout.
Permissions
Section titled “Permissions”Set both access levels in your workspace's access control settings.
Workspace ID access level
Section titled “Workspace ID access level”The Default access level setting covers anyone who isn't logged in, or isn't a member of the workspace's Nx Cloud organization. It starts at read-write. Lower it to read-only or none for any repository that people outside your team can see, such as an open source repository or one that's visible across your organization but only editable by one team.
Personal access token access level
Section titled “Personal access token access level”The Logged in users setting covers workspace members who ran nx login. Set it to read-only, read-write, or no-cache.
Personal access tokens (PATs)
Section titled “Personal access tokens (PATs)”Use a personal access token only where you can't log in: scripts that call the Public API without the Nx Cloud CLI, and CI jobs that publish conformance rules. Other CI steps use a CI access token. Create a personal access token under Personal settings > Access tokens.