SAML Auth
SAML support for Nx Cloud is an addon for Nx Enterprise contracts and requires an unlock key. Please get in touch if you are interested.
Jump To
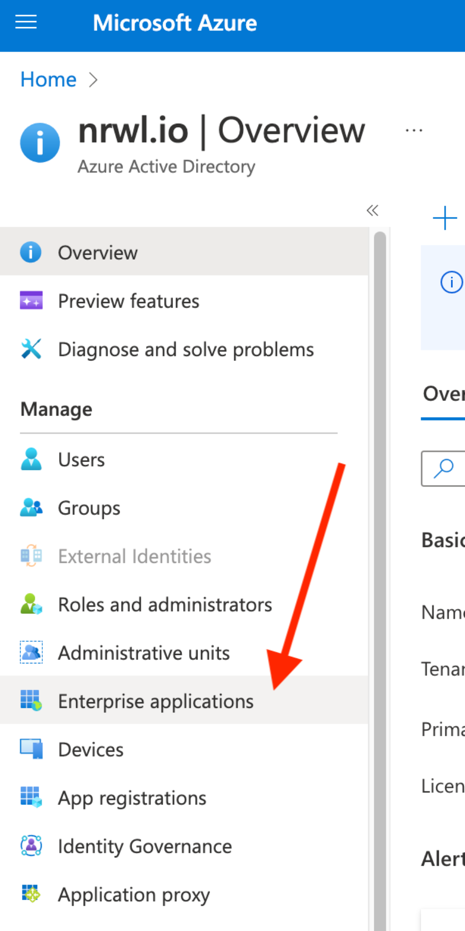
Azure Active Directory Set-up
Create a new enterprise app
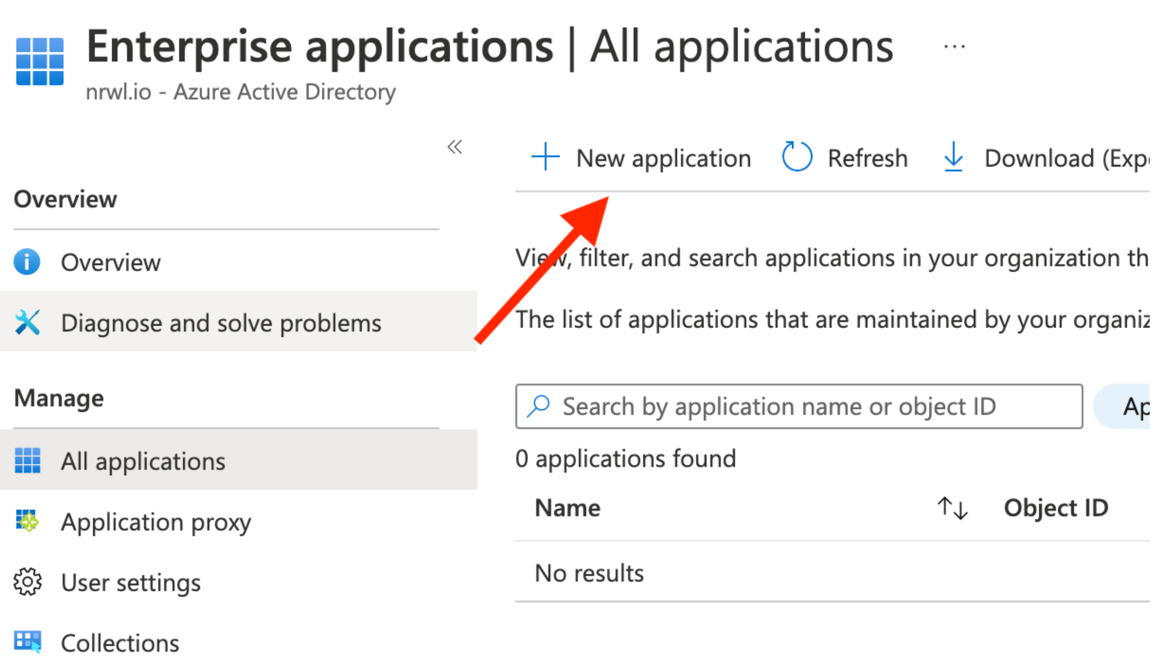
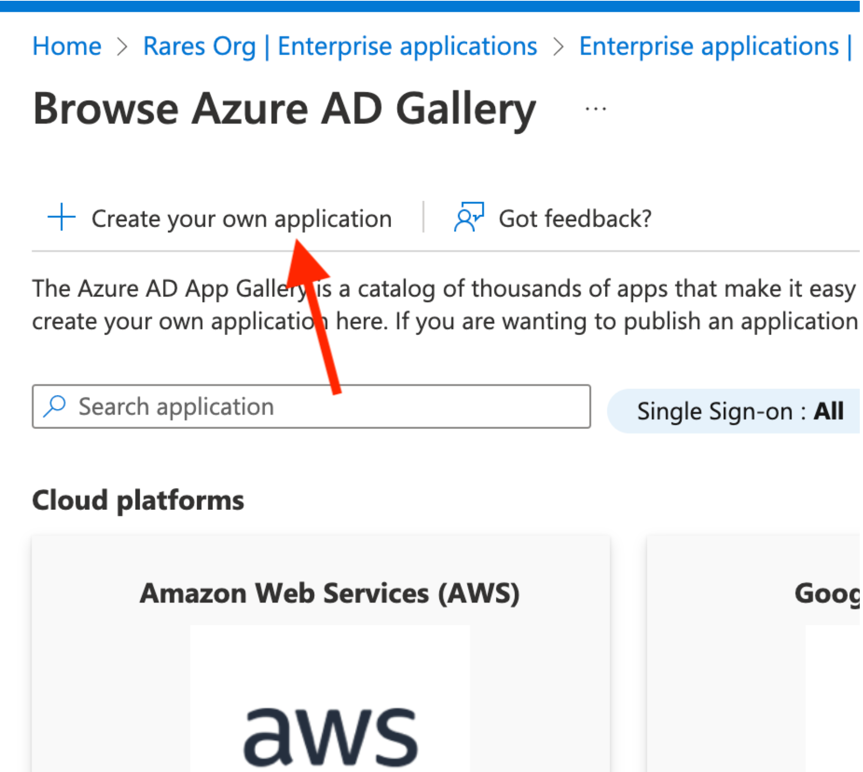
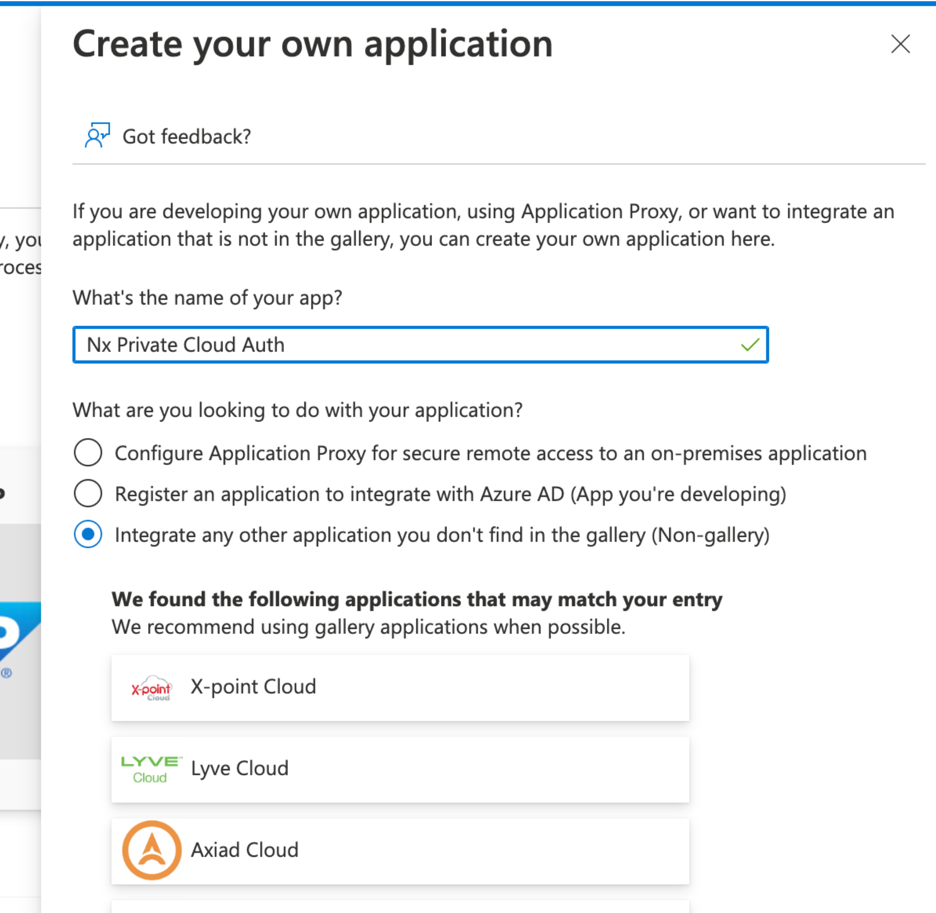
Choose “Create your own”:
Give it a name
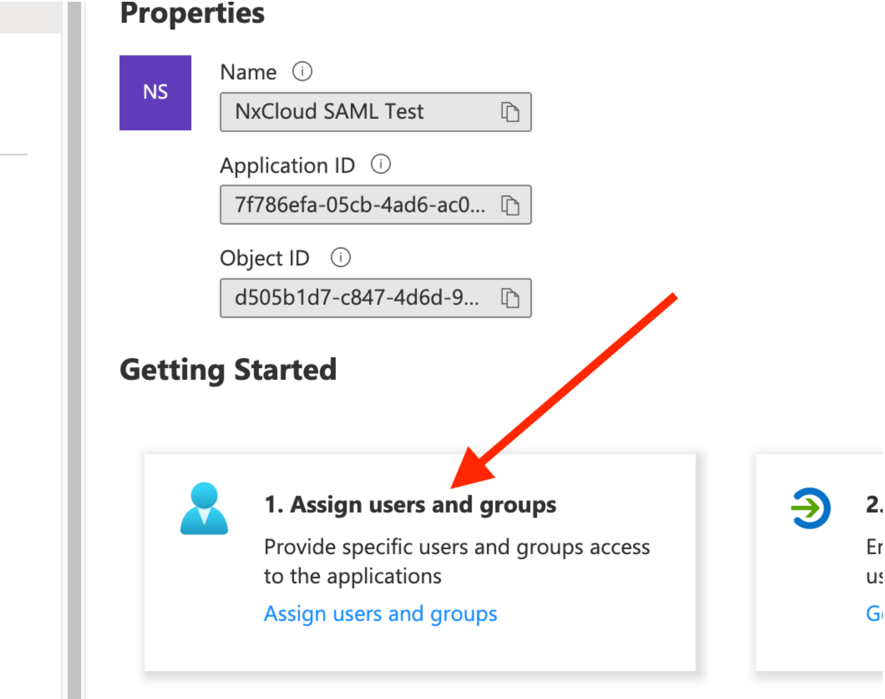
Assign your users and/or groups to it:
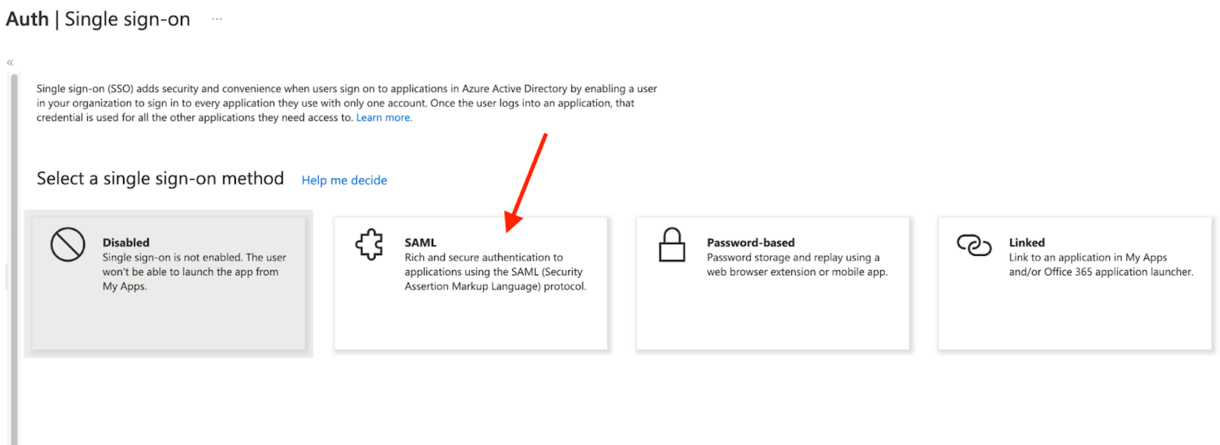
Then set-up SSO

And choose SAML:
Add these configuration options
- Configure the Identifier exactly as
nx-private-cloud - For the Reply URL, it should point to your Private Cloud instance URL. Make sure it ends with
/auth-callback
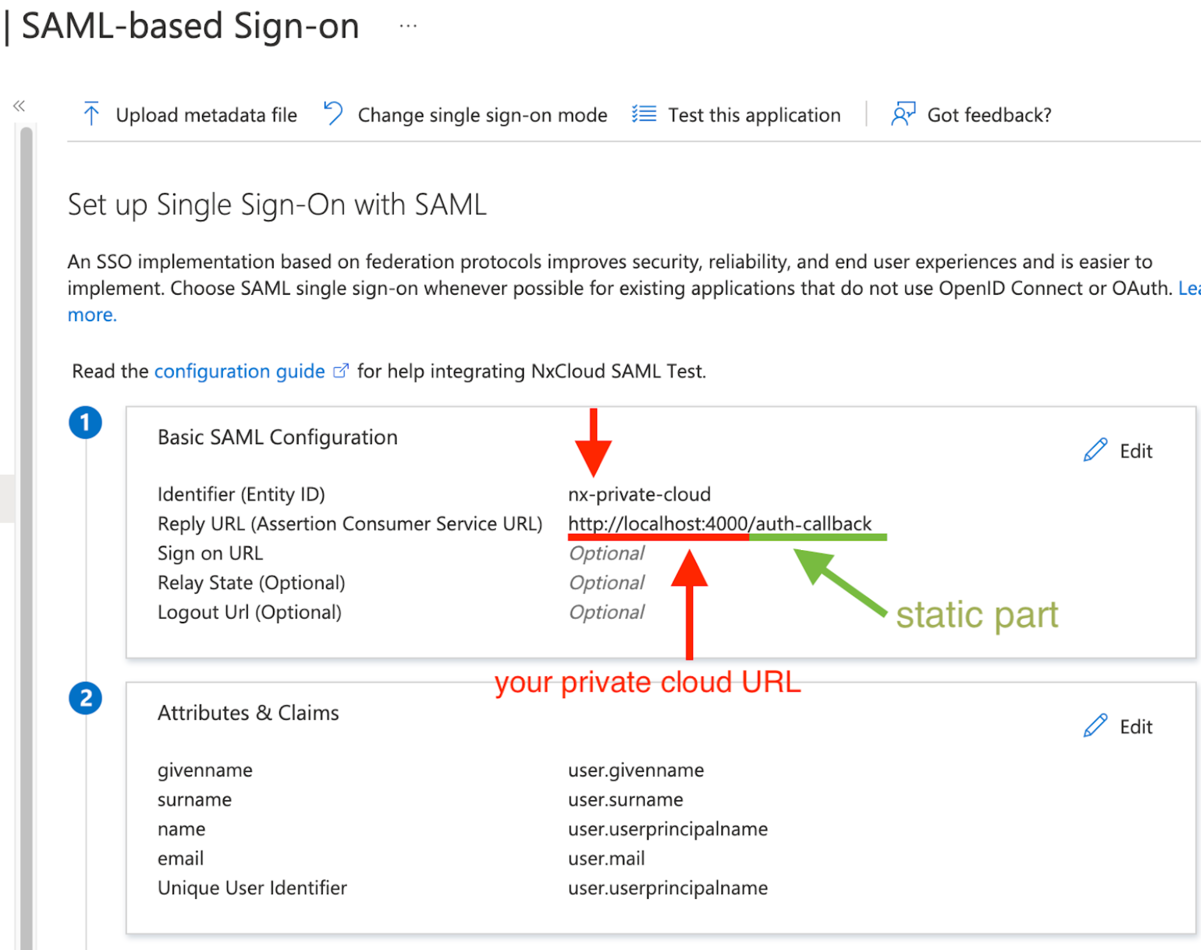
- Configure the Identifier exactly as
Scroll down and manage claims:
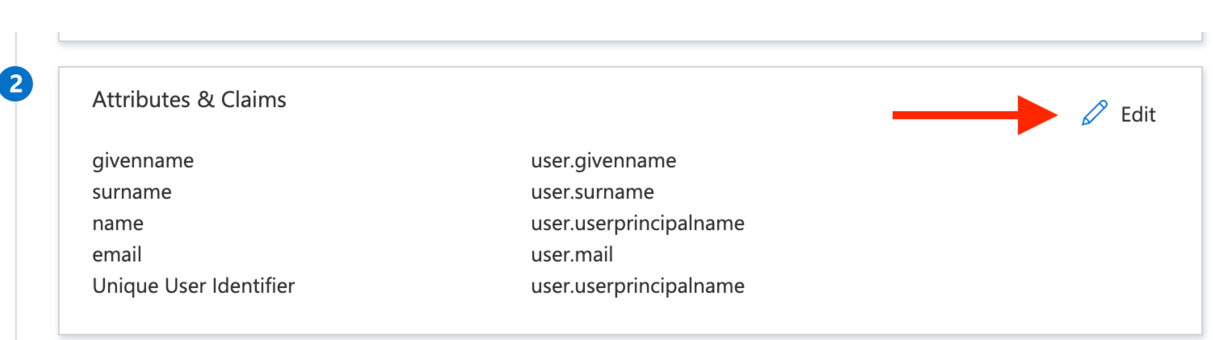
The first row should be the
emailclaim, click to Edit it: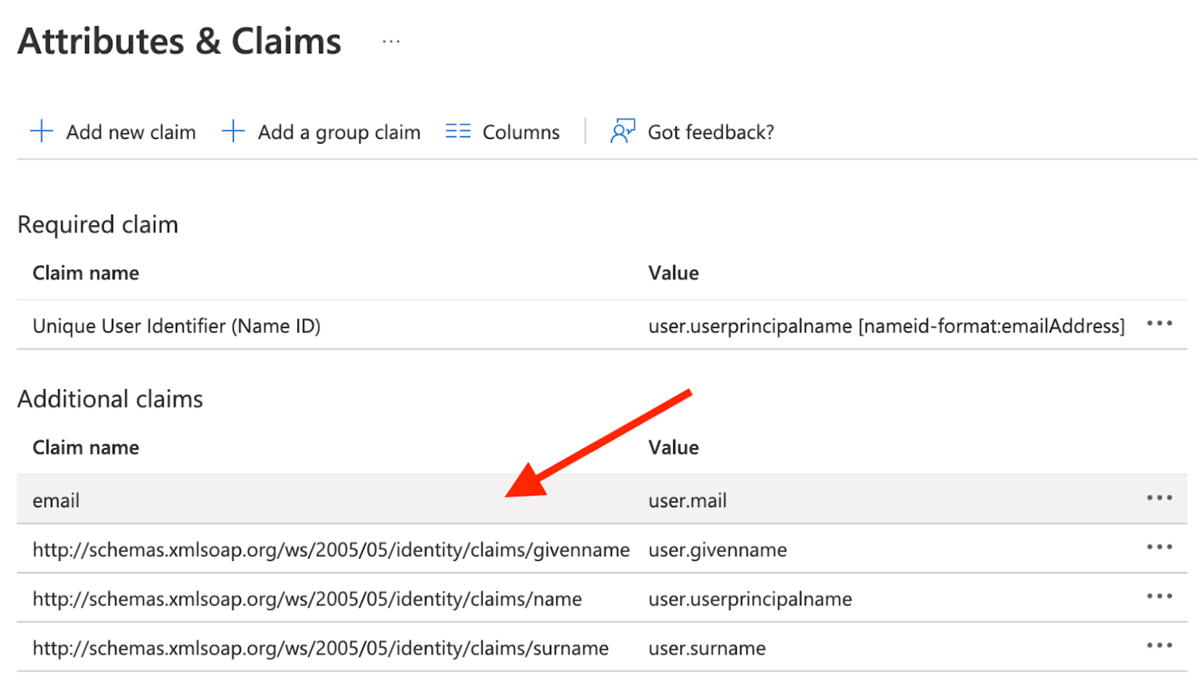
Configure it as per below
- “Namespace” needs to be blank
- “Name:” needs to be “email”
- See screenshot below. This is an important step, because Nx Cloud will expect the “email” property on each profile that logs in.
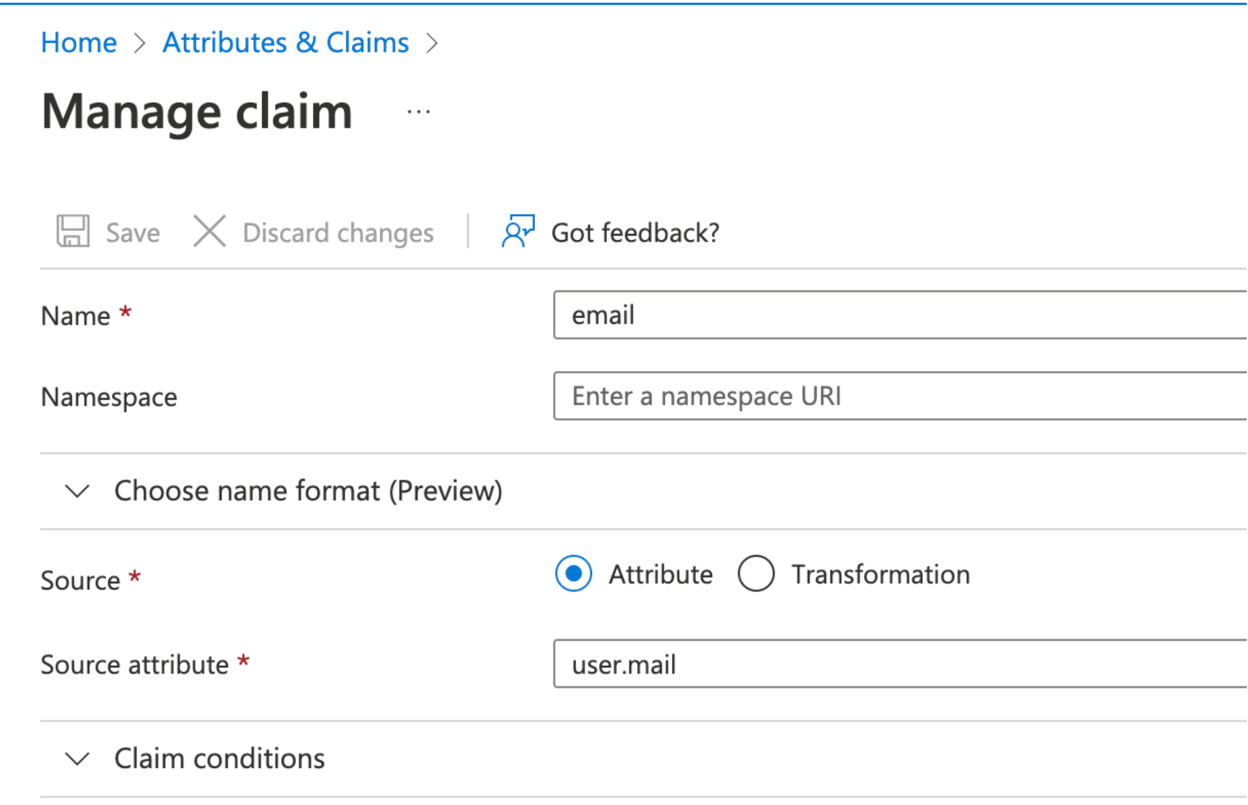
Make sure your application user profile exposes the email address under
user.mail. This can be configured inUsers and Groupsin the Azure portal. Alternatively, you can always configure theemailclaim to use a different property under theuserobject.Under
SAML Certificates, click the pencil icon to edit
For Signing Option, select Sign SAML response and assertion
Then click Save and close the popover.
Download the certificate in Base64:
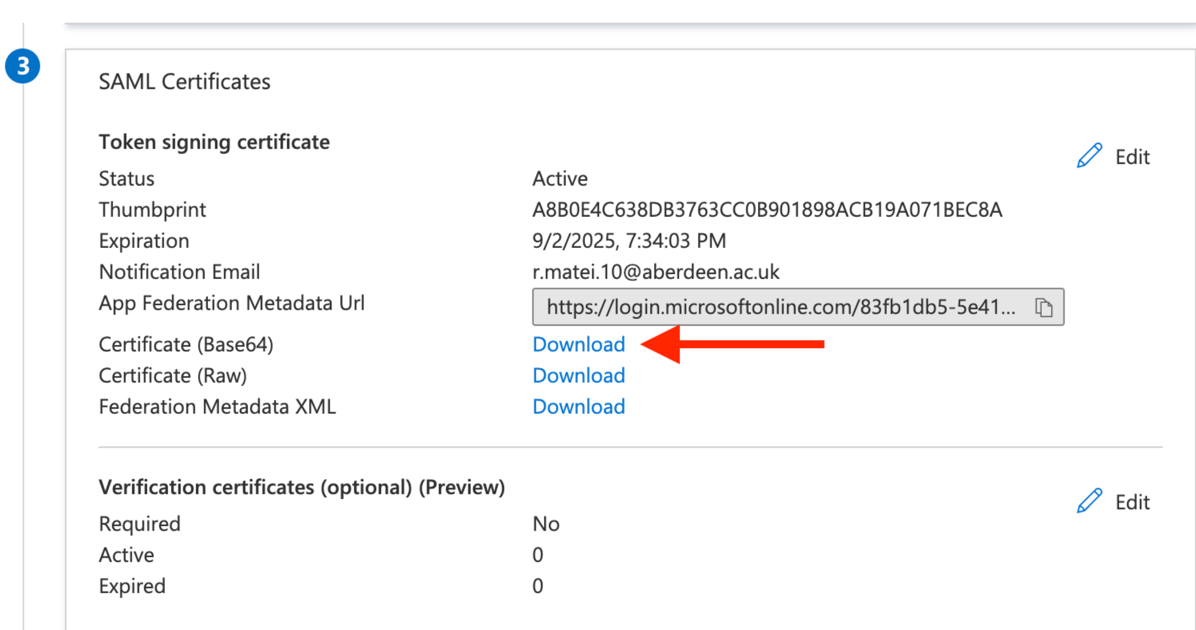
Extract the downloaded certificate value as a one-line string:
awk 'NF {sub(/\r/, ""); printf "%s\\n",$0;}' azure_cert_file.cer- We’ll use this in a bit to initialize an environment variable
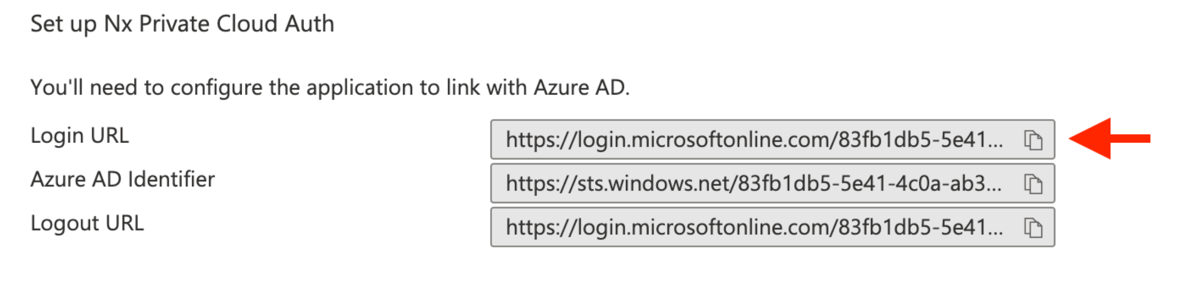
Copy the Login URL:

Then add these two env vars to your Nx Cloud cluster secrets (see Helm config below):
SAML_CERT=<your-cert-string-from-above>SAML_ENTRY_POINT=<your-login-url-from-above>
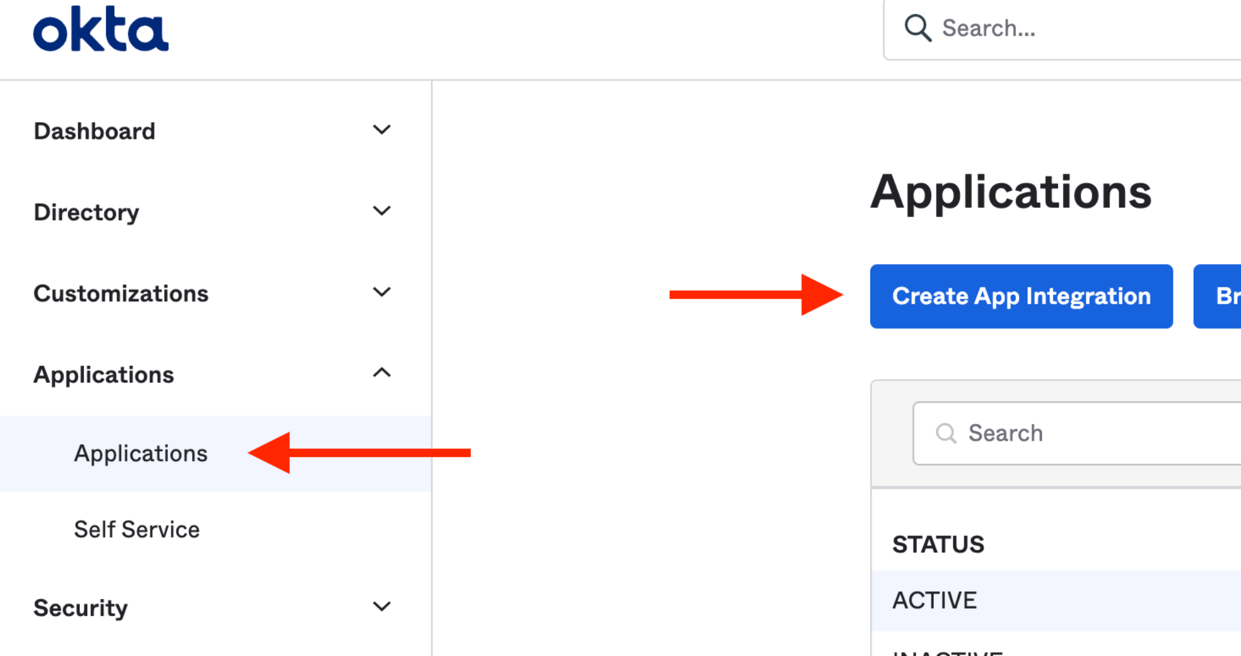
Okta Set-up
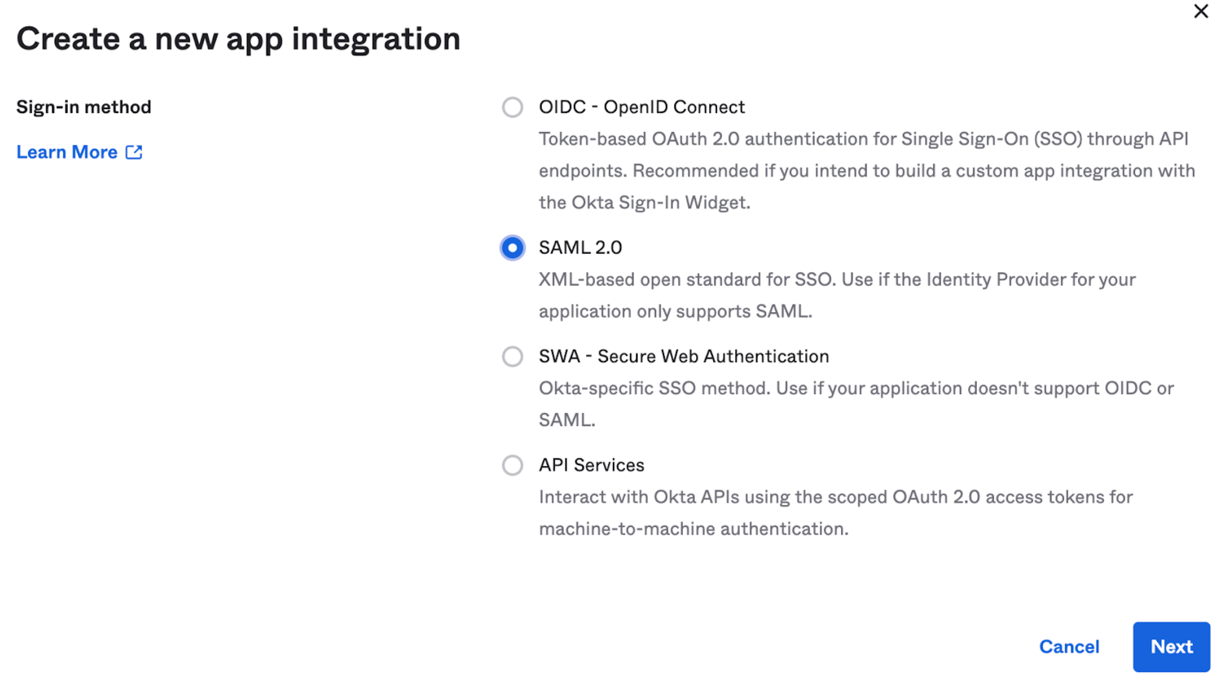
Create a new Okta App Integration:
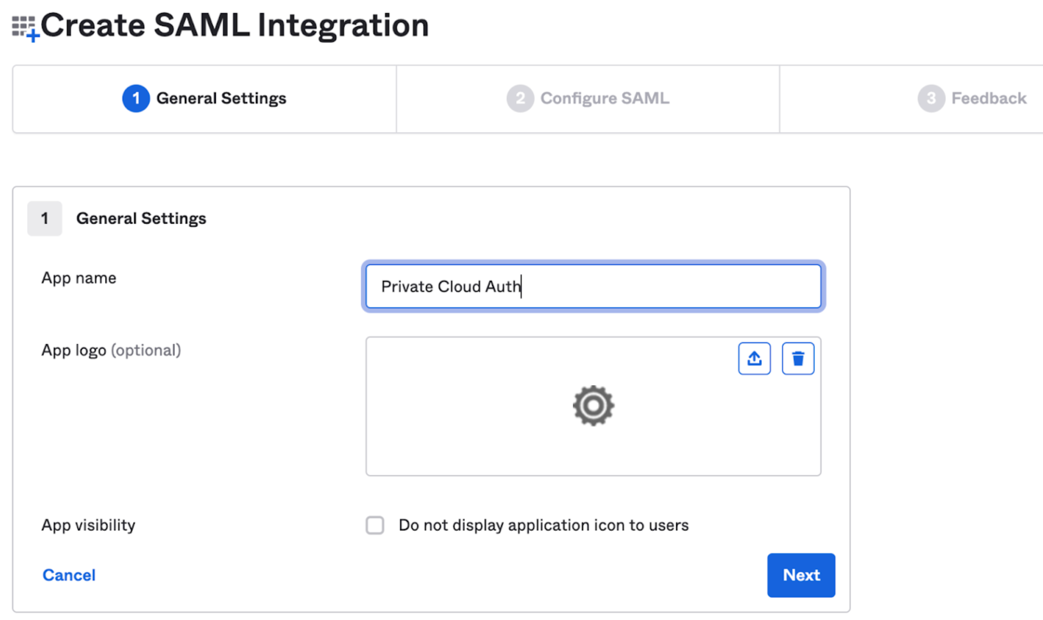
Give it a name:
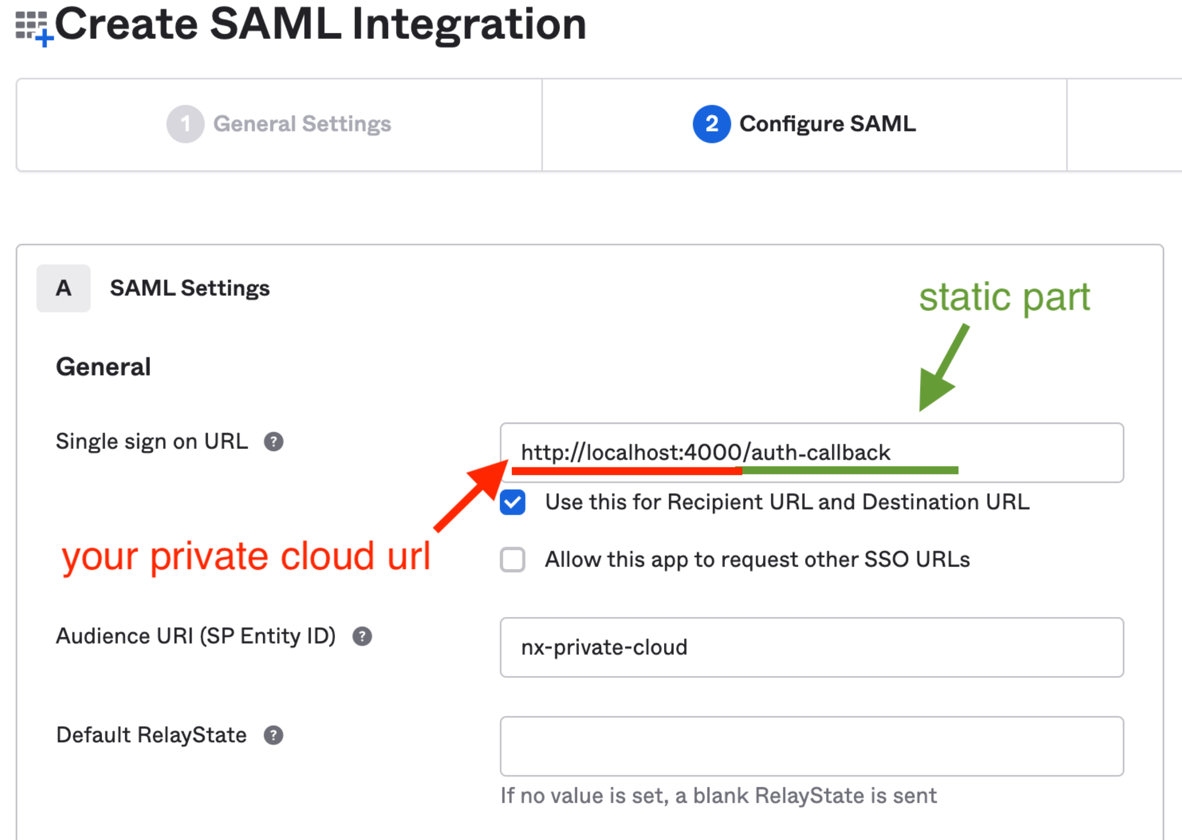
On the Next page, configure it as below:
- The Single Sign On URL needs to point to your Nx Cloud instance URL and ends with
/auth-callback - The Audience should be
nx-private-cloud
- The Single Sign On URL needs to point to your Nx Cloud instance URL and ends with
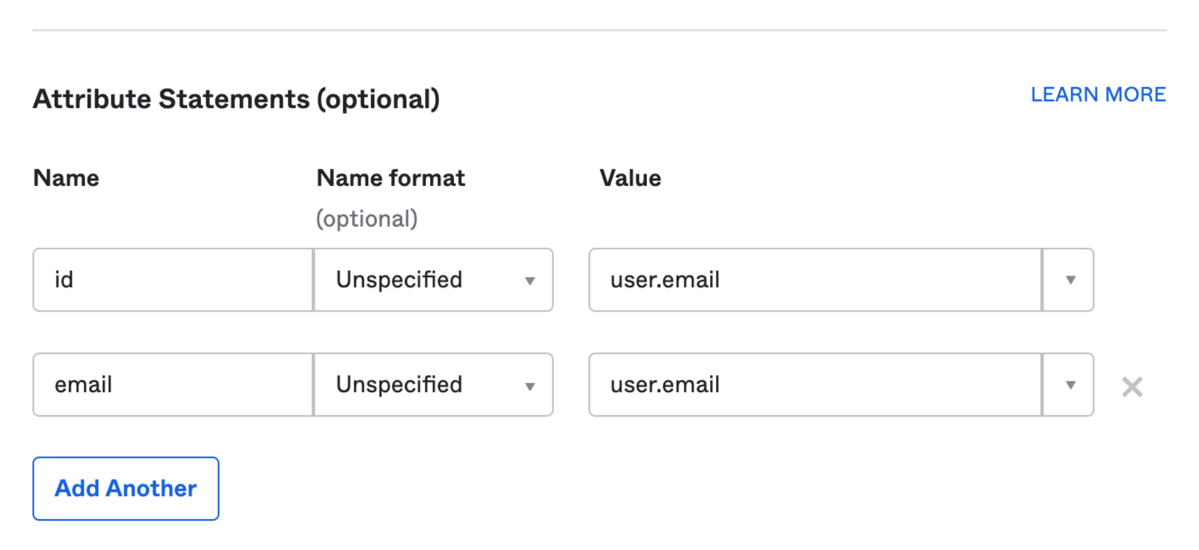
Scroll down to attribute statements and configure them as per below:
Click “Next”, and select the first option on the next screen.
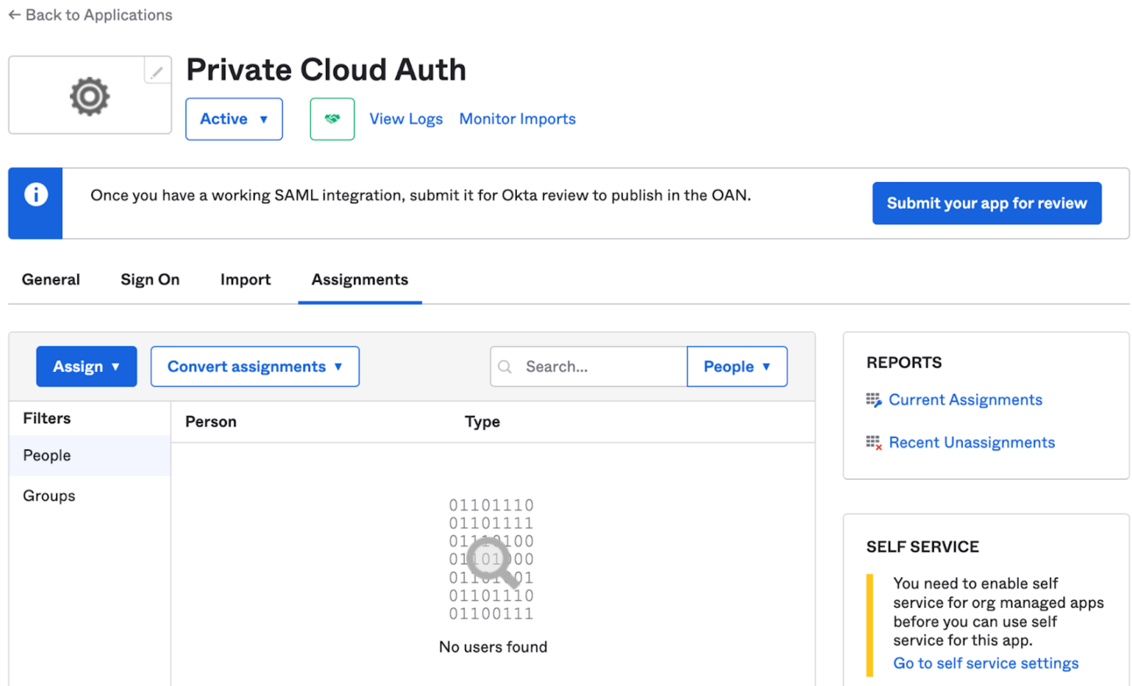
Go to the assignments tab and assign the users that can login to the Nx Cloud WebApp:
- Note: This just gives them permission to use the Nx Cloud web app with their own workspace. Users will still need to be invited manually through the web app to your main workspace.
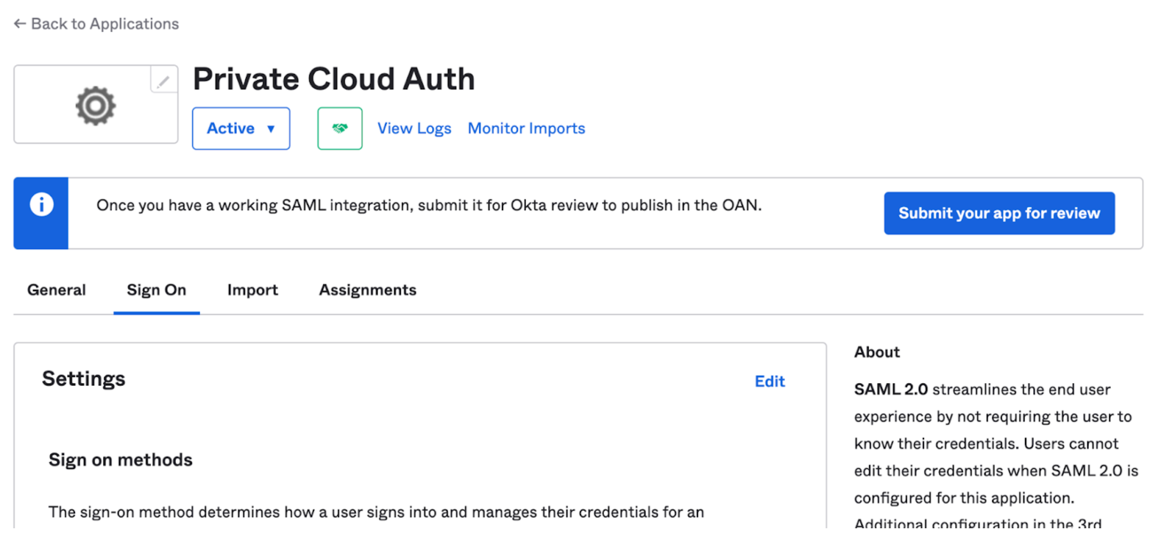
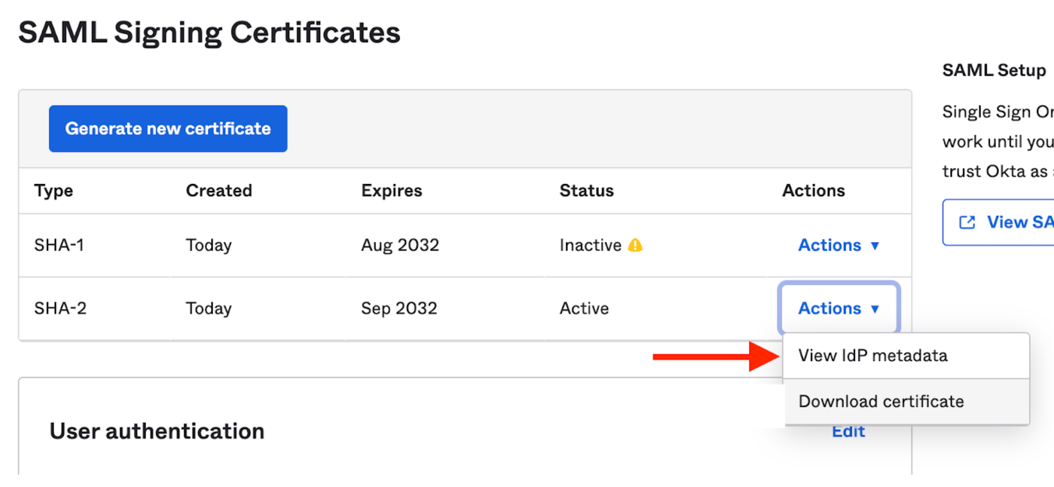
Then in the Sign-On tab scroll down:
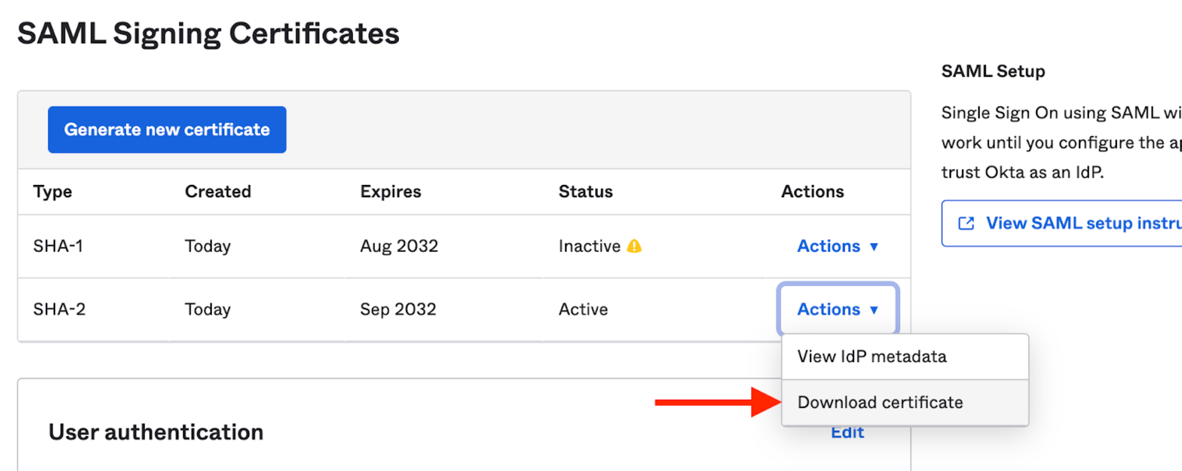
Scroll down and from the list of certificates, download the one with the “Active” status:
Extract the downloaded certificate value as a one-line string:
awk 'NF {sub(/\r/, ""); printf "%s\\n",$0;}' okta.cert- We will use this in a bit to initialize and environment variable
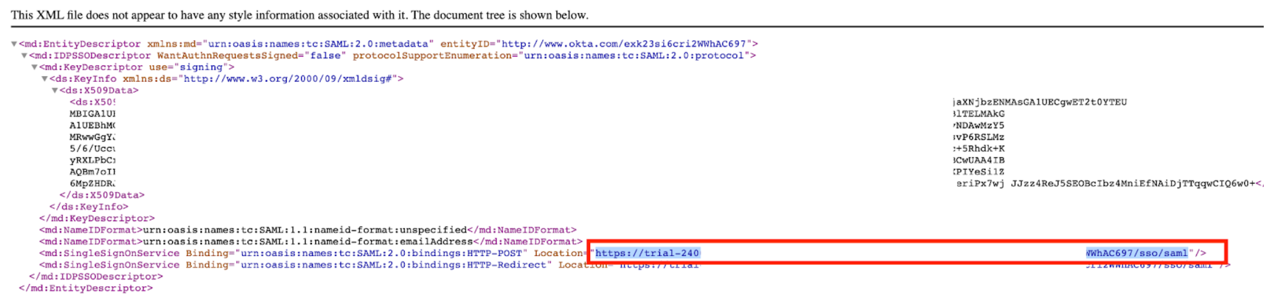
Then view the ldP metadata:
Then find the row similar to the below, and copy the highlighted URL (see screenshot as well):
1<md:SingleSignOnService
2  Binding="urn:oasis:names:tc:SAML:2.0:bindings:HTTP-POST"
3  Location="https://trial-xxxxx.okta.com/app/trial-xxxxx_nxcloudtest_1/xxxxxxxxx/sso/saml"
4/>
5
Helm config
It's now time to enable auth on NxCloud. Refer to the auth guide here for instructions on configuring your Helm values file.