BitBucket Auth
Nx Private Cloud currently only support public BitBucket auth. On-prem installation of BitBucket Server are currently not supported.
Before creating your container, you'll need to create a BitBucket "OAuth consumer" for your organisation.
Creating a BitBucket OAuth consumer
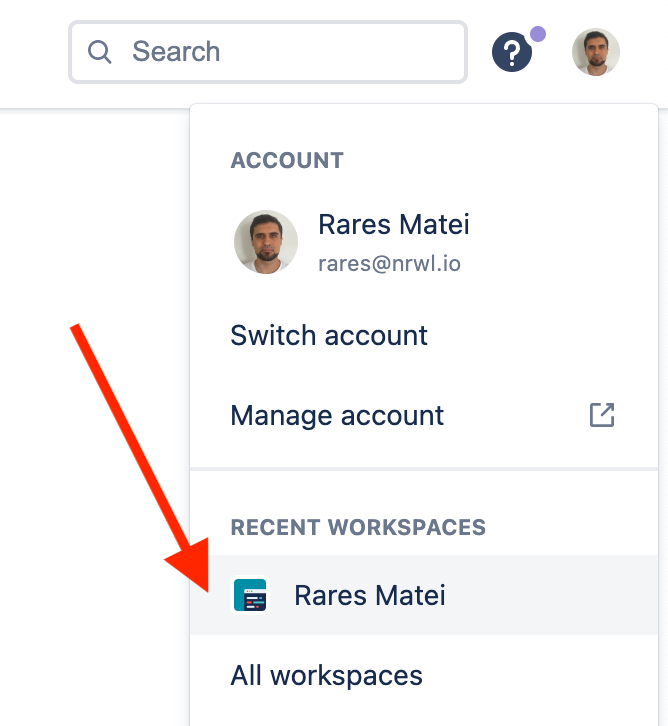
From BitBucket, click on your profile picture and select your workspace:
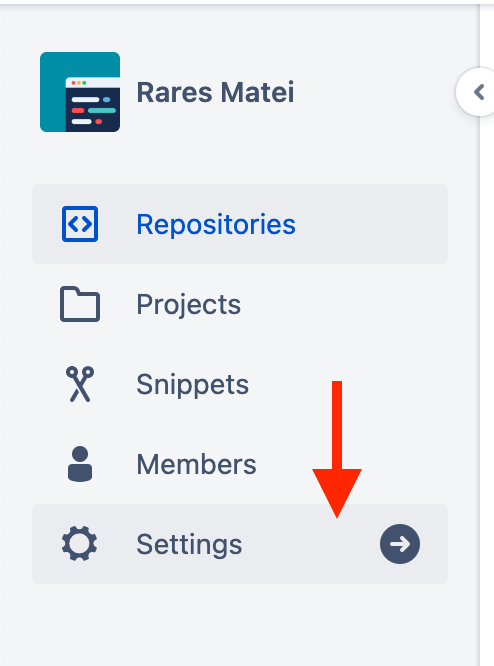
Then "Settings":
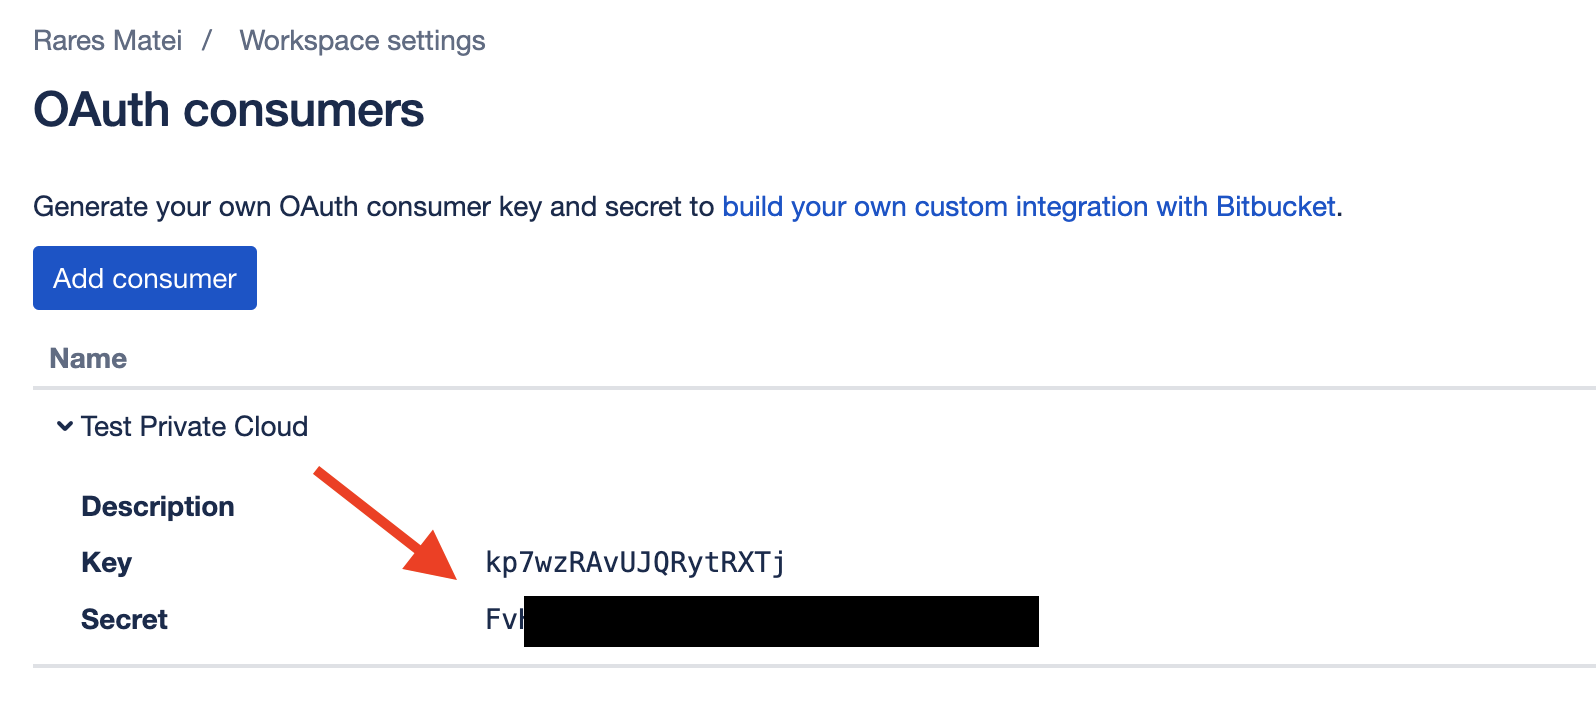
Then "OAuth consumers":
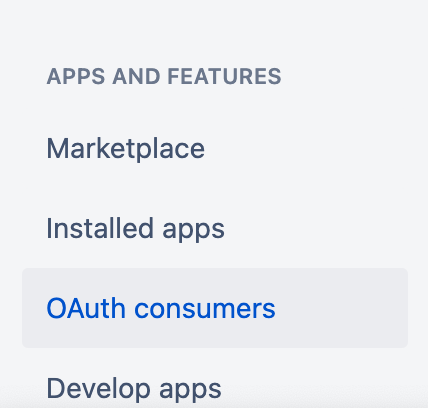
And create a new consumer.
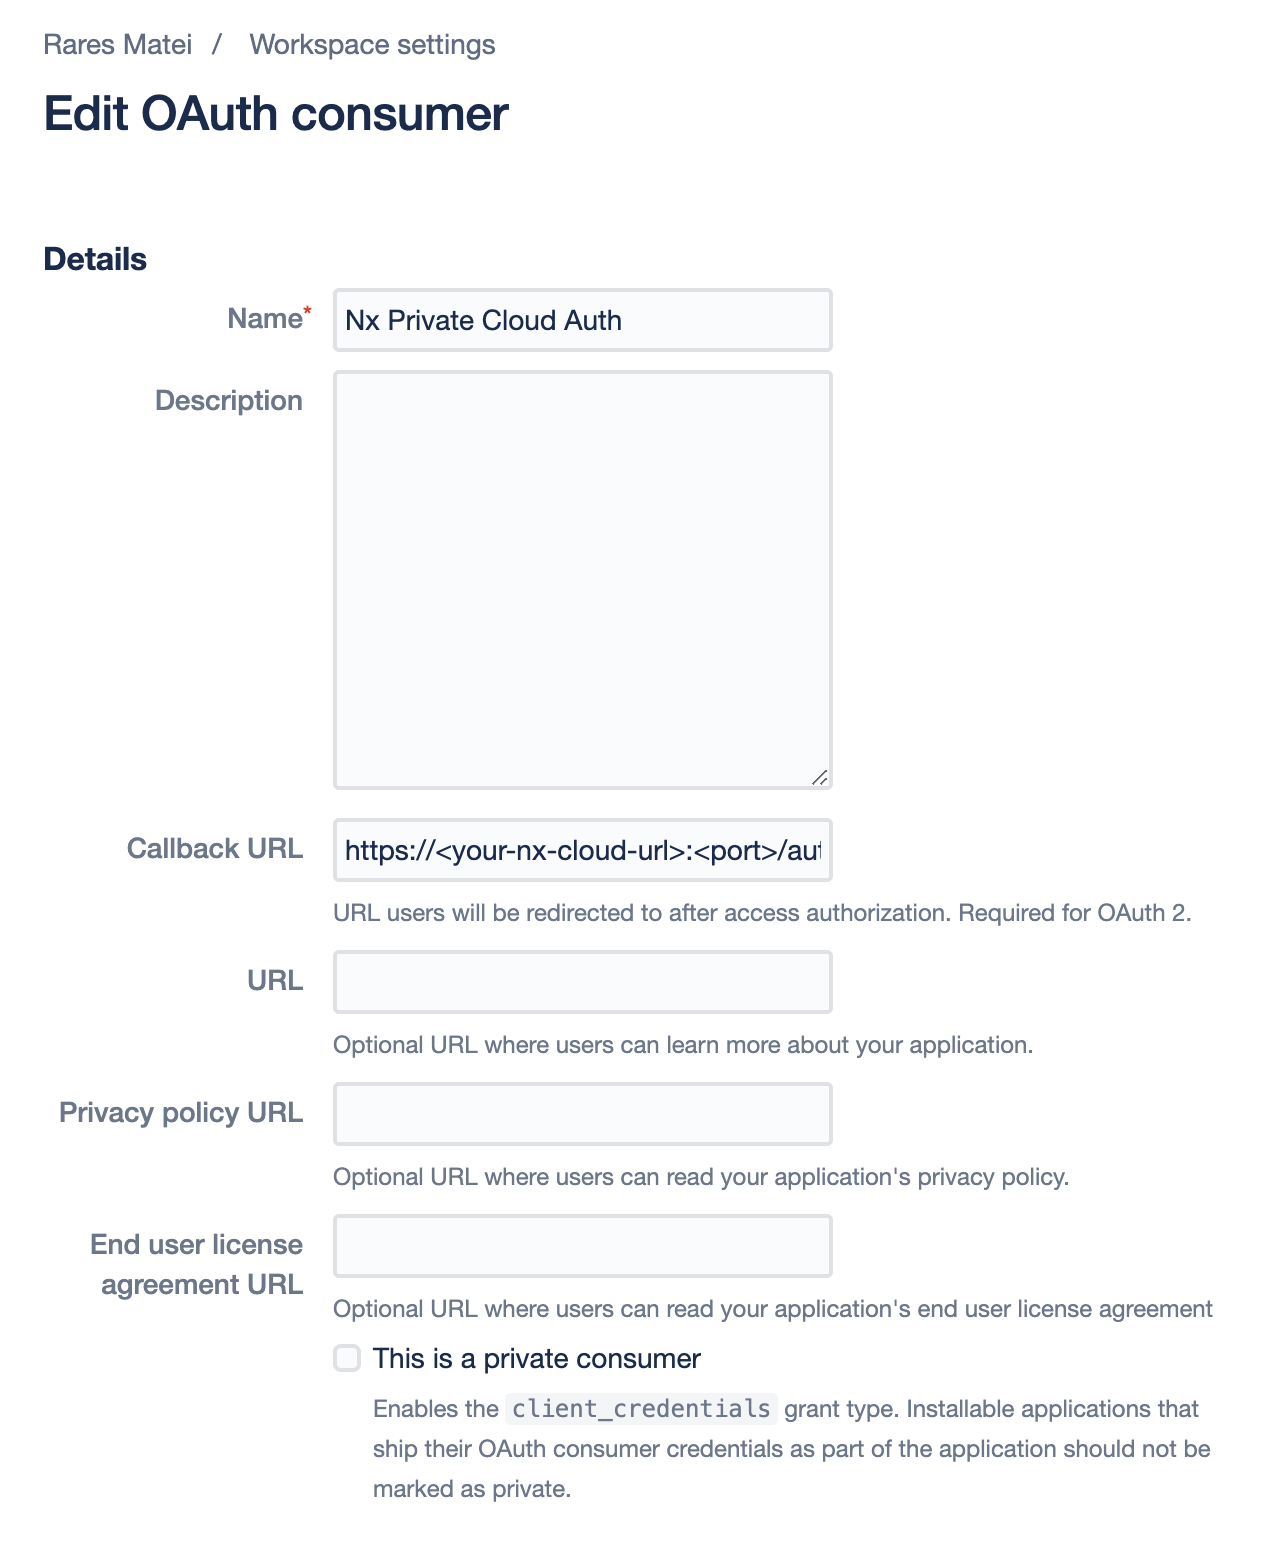
Give the app a name. The callback URL is the important bit. It needs to be in this form:
1[your-nx-cloud-url]/auth-callback
2
3# for example
4https://my.nx-enterprise.url:8080/auth-callback
5
Important: Ensure there is no backslash at the end of the "Callback URL" (i.e. it matches the above pattern)
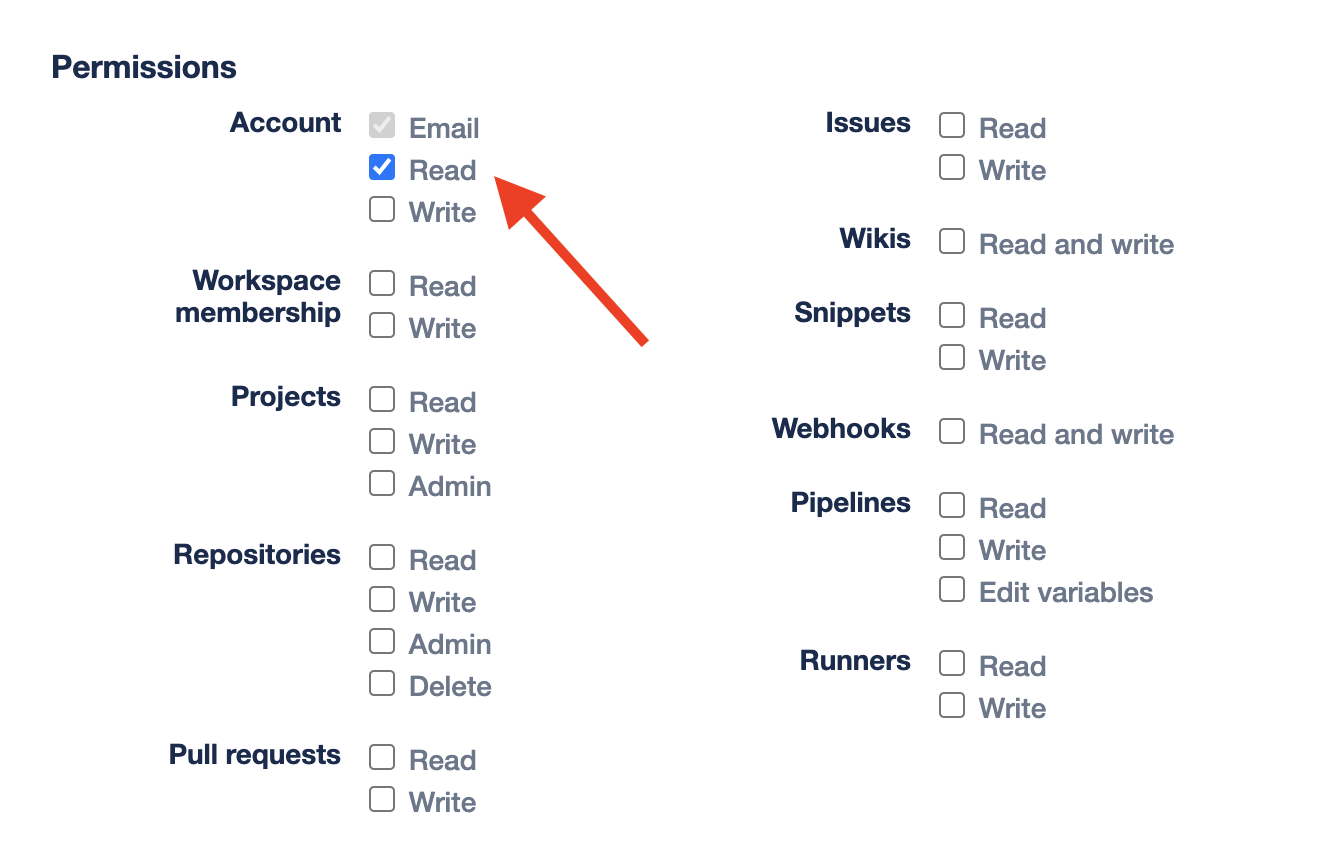
Ensure you grant it the account:read and account:email scopes:
Save your changes.
Once you create, keep a note of the Key and the Secret:
Connect your Nx Cloud installation to your new app
Provide the following env variables to the nx-cloud-frontend container:
BITBUCKET_APP_IDBITBUCKET_APP_SECRET
If you are using our Helm chart, you can find all the information you need about env variables in the Helm chart repository.